DIY Composting
Learn how to make your own composting systems including a hot compost pile, compost bin and worm farm.
We can help you with DIY composting systems to suit every need.
Ask your local Compost Collective tutor about our DIY workshops where we bring everything to your group to create compost systems to take home, and it’s all for free.
If you run a community composting hub, or are looking at starting one, why not get in touch about our DIY composting systems. We can run a workshop at your hub to create these, or we work with Massey Men’s Shed, who for a small cost, will build your DIY system for you. See the prices below. Using a DIY system not only saves you money (it’s entirely free if you do it yourself), you’re also helping to repurpose materials that would otherwise end up in landfill to have another life.
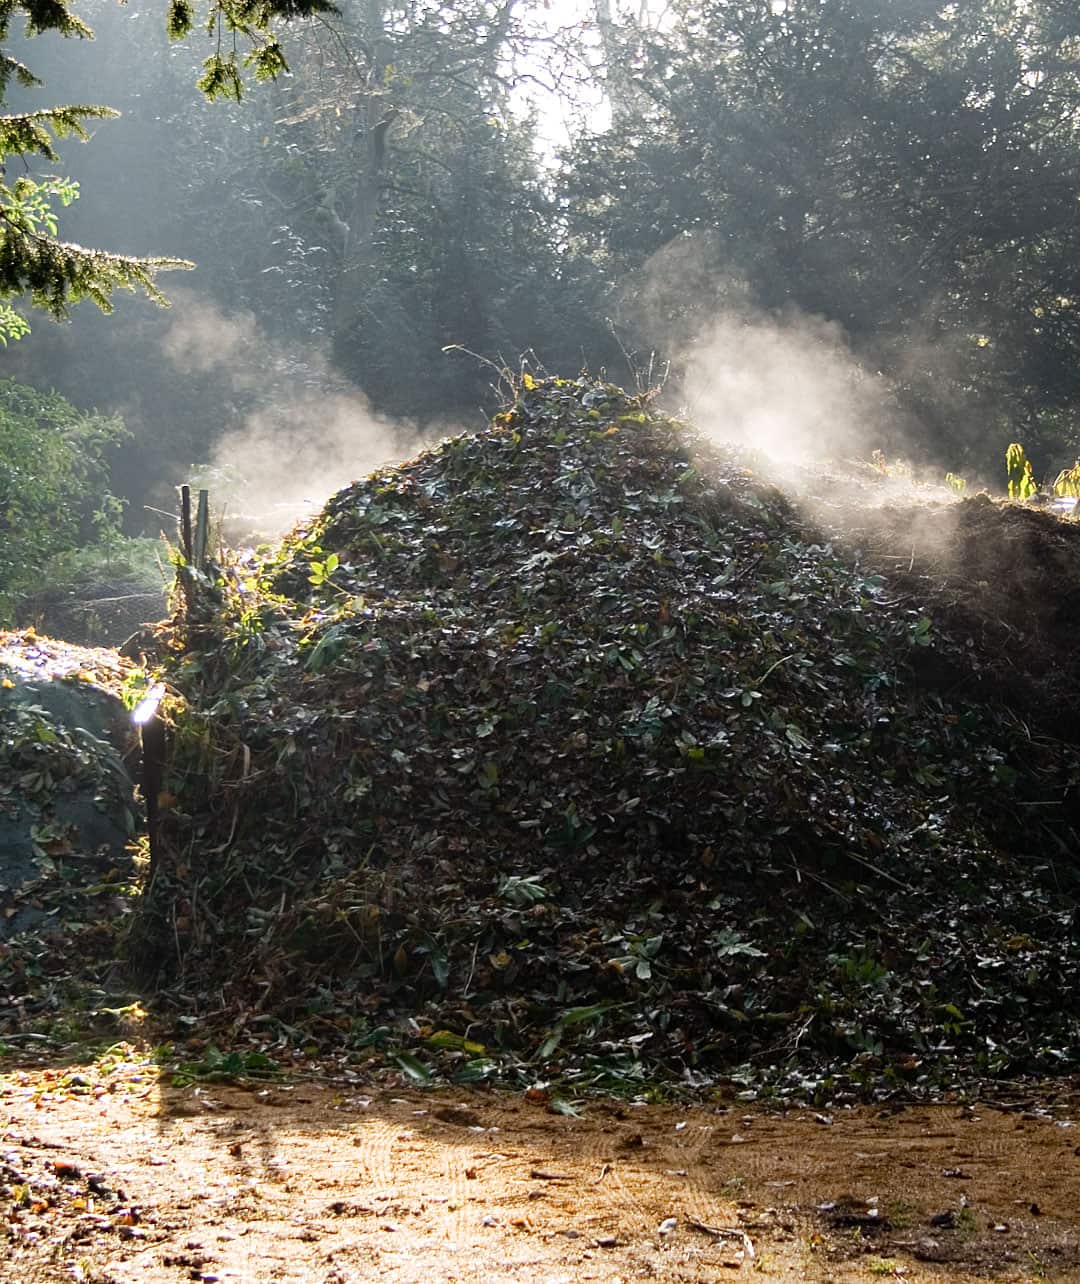
By adding the right ingredients, you can literally get your compost cooking.
Hot composting could be for you if you are a keen gardener, have lots of compostable material, and want a large amount of good quality compost quickly.
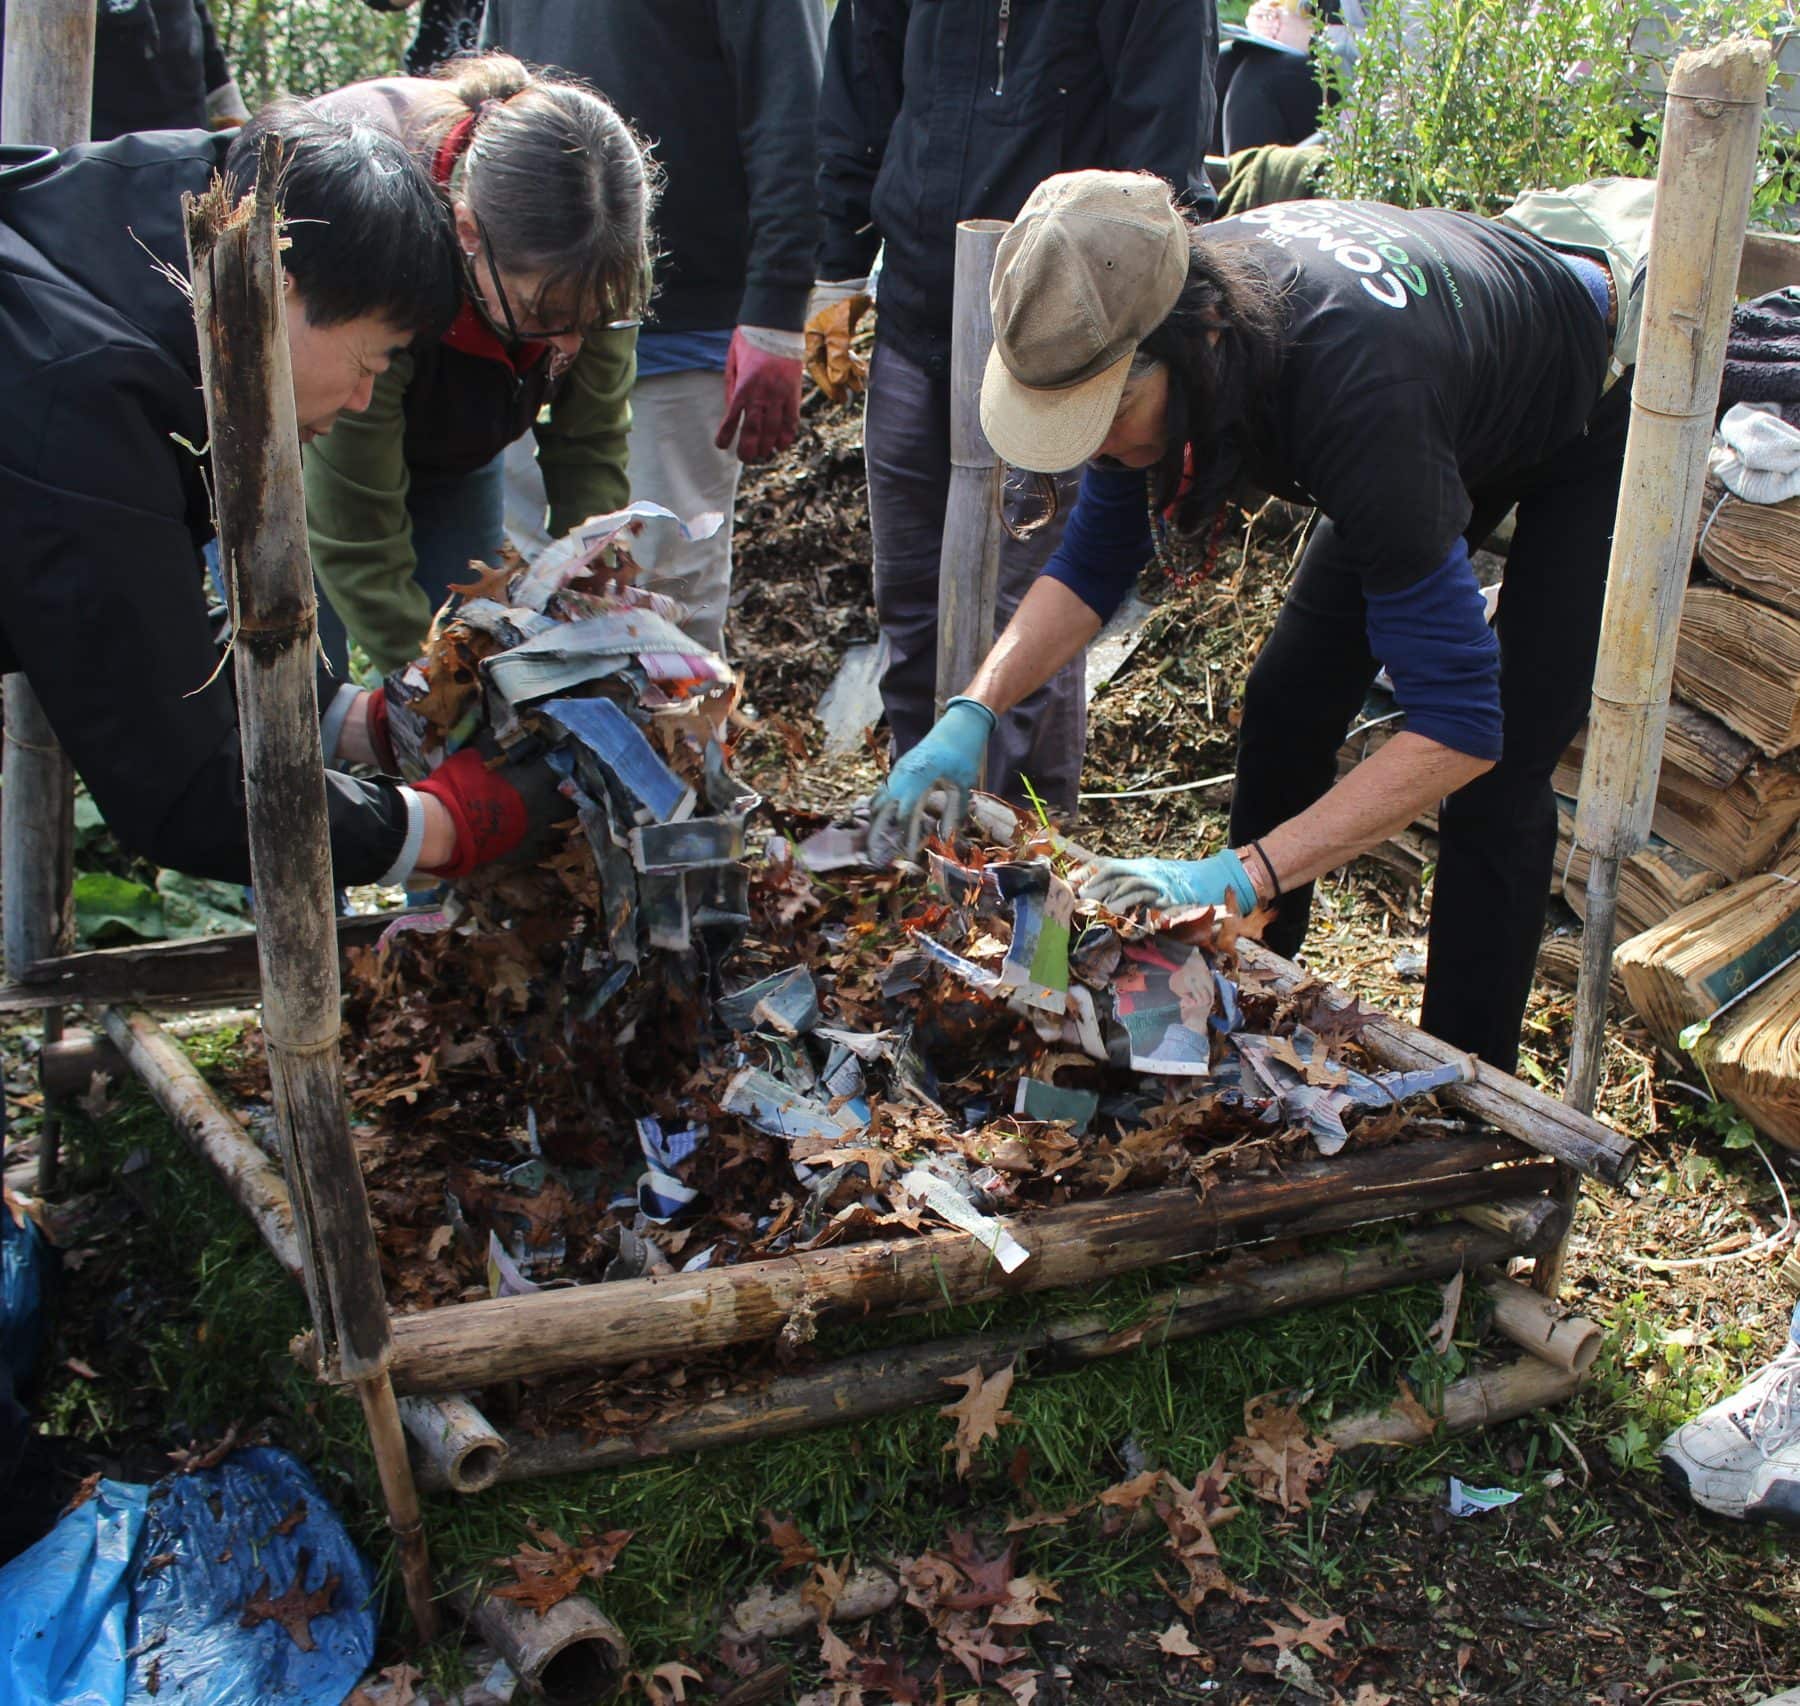
Once you have decided where to make the hot compost – It can be made in a large free-standing heap, or you can build a structure out of pallets, or similar – a large heap is made. All of the materials are added in a single session, alternating thick layers of brown carbon rich materials with thinner layers of green nitrogen rich material. See here for what is classified as brown and green.
Then, with the help of microorganisms, especially bacteria, and with the right mix of moisture, air, greens, and browns, the pile will heat up rapidly. This heat will speed up the decomposition process, and can be sped up more by turning the heap and mixing in more air once it starts to cool. The more you turn your heap the faster you will get great compost.
Wastebusters has a super informative hot composting page, found here, with troubleshooting tips and tricks too.
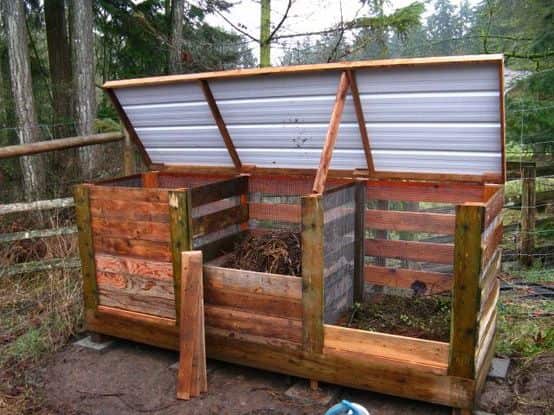
You can use a wide variety of material, including chicken wire, wood, plywood, bricks, concrete blocks, etc to make your own compost bin. It needs to sit on the soil, and ideally be no smaller than 1m high x 1m wide x 1m deep.
For large amounts of garden waste, units can be made from wood, bricks, or concrete blocks. Ready access from the front is necessary.
Black polythene or sacks may be used for lining, warmth and moisture control. Wrap netting frame around wooden stakes. Line these with newspaper or cardboard to retain heat.
On YouTube
Have a look at some of these DIY WORM FARMS and see what might suit you. They may even inspire you to create something to match the resources you have available.
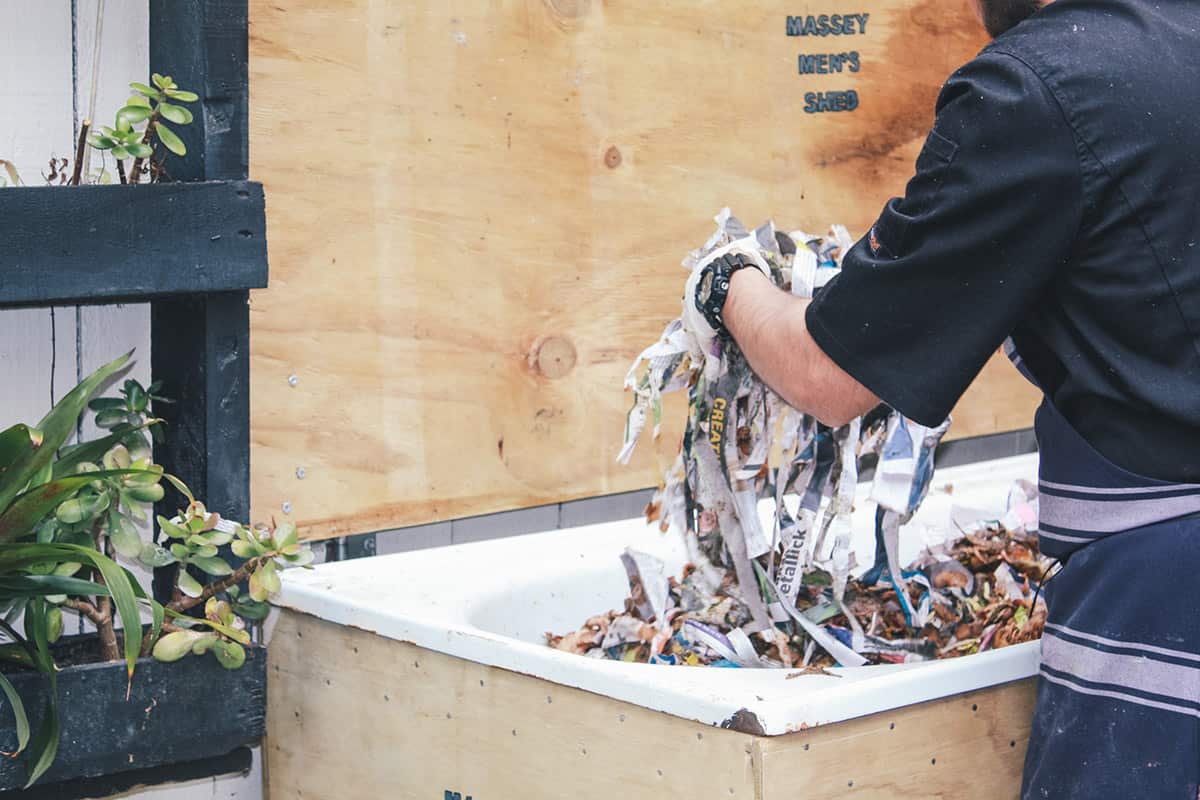
The Bath Version
If you use a bath, you first need to build a frame to allow the bath to sit securely at a convenient height. Bricks, posts or blocks may be used for elevation, and to give room for the liquid collection container to be placed beneath the plug outlet. Remove the plug and metal plug hole surrounding.
Roofing such as plywood or corrugated iron will be needed to provide protection from summer sun, rain, and rodents. Consider the optimum location to allow it to stay warm but not too hot. Worms do best at 23C.
Next, you need to create a layer that collects the liquid while keeping out the worms. One way of doing this is to place 1.5m of 65mm perforated drainage pipe covered with two layers of old stockings through the plug hole. The stockings seal the ends, which stops the pipe blocking and the worms escaping. Add pumice sand or scoria to a depth of 75mm then place shade cloth, doubled over and cut to fit, on top of the filtering layer. Another barrier to stop the worms falling out.
To remove the worm castings once the worm farm is full (after 9-18 months), place a plastic sheet or large container next to the bath, and using a garden fork remove the top half of the worms’ bedding. This is undigested food and is where the majority of the worms will be. Place this to one side. Remove all casts and rinse the drainage layer thoroughly, catching all the liquid. Replace the contents that were put aside and re-start the feeding, forking, and watering process when needed.
Your bath worm farm will ultimately digest about 2-3 litres of mixed organic waste a day!
More DIY Worm Farm resources
Earthly delights in Christchurch have lots of helpful resources, as well as being suppliers of worms if you want to buy some to get things started. Here are their suggestions for DIY WORM FARMS.
We’ve also put together this partial list of worm suppliers in New Zealand. Please note suppliers listed aren’t necessarily endorsed or guaranteed by Auckland Council. If you are a worm supplier, and would like to be added to the list, please email [email protected].
Local Community Gardens
Local Facebook Community groups
What DIY options are available?
Worm farms systems
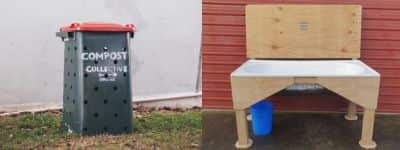
Both wheelie bins and bathtubs can be converted into worm farms. These are both great for collecting lots of food scraps, be it at your community hubs, school gardens, restaurants, etc. We can create these for you at a cost (wheelie bin worm farms are $35 each, and bathtub worm farms, $500. This cost can be covered by our Community Composting Hub Grant.
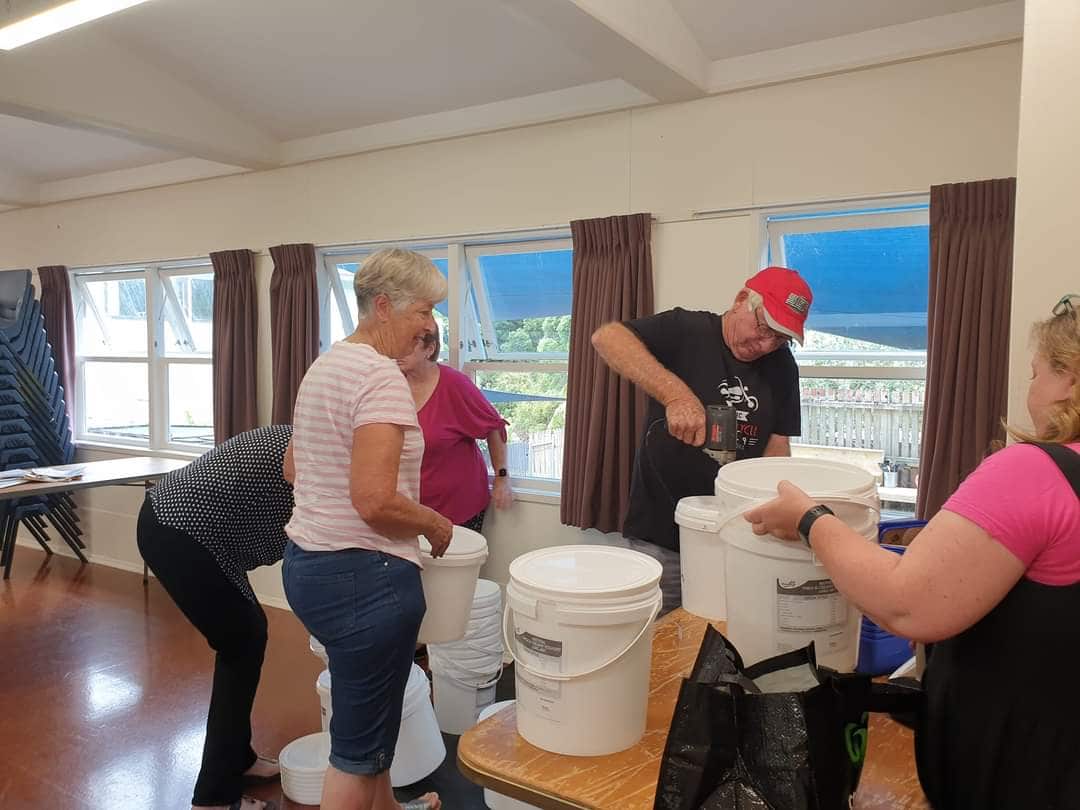
DIY Bokashi workshop
Bokashi is a great option if you have a traditional or cold compost set-up at your hub. We can help each of your members make their own Bokashi systems to Bokashi their food waste before dropping off. This means no processing for you, and the Bokashi end product can be used as an added green to your compost. If you would like to host a DIY Bokashi workshop, your tutor will supply all the tools and buckets to make these. Find your local tutor here.
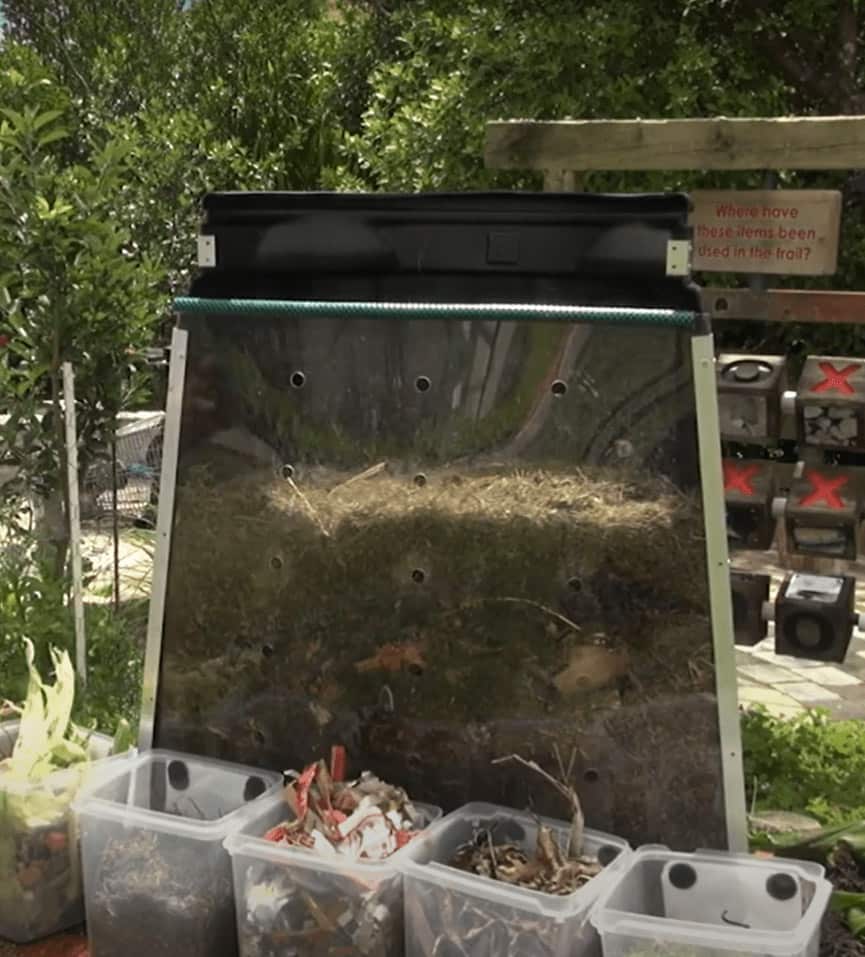
Educational perspex compost bins
If you are from a school or ECE centre, you might like one of our traditional compost systems that are cut in half and fitted with a perspex screen to view what is going on inside at all times. This is a great educational tool to visually see how composting works at every level, from the layers of greens and browns, and the worms in action, to the different stages of composting. Email [email protected] if you are interested in these.
DIY Bokashi eco enzyme
Save even more money by using DIY Bokashi eco enzyme or sprinkle. You can find a recipe card here or ask your local tutor to come and run a workshop teaching you how to make it, and showing you all the tips and tricks.
DIY price list
DIY Bathtub worm farm with lid and lids – $500
DIY Worm Farm made from salvaged wheelie bins – $35.00
DIY Compost Bin made from salvaged wheelie bins – $35.00
Contact [email protected] for more information on getting DIY systems.